Ec2GitHtmlPictures
Overview
The purpose of the EC2 Git Html and Pictures assignment is to give you practice:
- Using Git
- Creating Html files with Markdown
- Working with Bitmaps
- Working with the MakeHtml program
- Working with the Apache web server

Step One
Create a directory called:
~/Documents/AllTest/Assignments
In it create a file called GoogleDriveGitZip.md.
Put the two bitmaps from your GoogleDriveGitZip assignment in the /var/www/html/images directory.
Write the markdown to display them in your GoogleDriveGitZip.md file, using a variant of the syntax shown in the LampMarkdown assignment:
Add your pictures to your markdown so that your page:
- Shows each image under a level 2 header (two hashmarks: ##).
- First the header describing the picture.
- Then beneath the header put the picture. So the picture is under the header, just as this text is under the Step One header.
- Either above or below the picture include text explaining each of the images.
Step Two
Complete the following steps:
- Find the two screen shots you created for the GoogleDriveGitZip project.
- Upload the pictures to S3.
- Copy the URL of your picture. Insert it in your markdown document.
Have each pictures appear twice. Once at a normal size, and once using our CSS img class=”twenty-five-percent”. I talked about the twenty-five-percent class in the Ec2MarkdownToHtml assignment, in the CSS section.
Copy the updated code in AllTest directory to the existing AllTest folder in your repository, per the instructions in the GitDualRepos assignment:
Add, commit and push your work.

Step Three
Complete the following steps:
- Use SSH to attach to your EC2 instance.
- Pull the work you did on Pristine Lubuntu
- Copy the code from your repository’s AllTest folder to your ~/Documents/AllTest folder.
- Run the MakeHtml
- View site using your Elastic IP to confirm all is good.

Turn it in
Navigate to your new GoogleDriveGitZip.html page using your EC2 Elastic IP.
Take a screen shot and attach (upload) it to your assignment. Also submit the URL of your new page, where the URL contains your elastic IP. I need to be able to see the big and little (twenty-five percent) picture in your screen shot.
NOTE: All this awkward language about ‘containing an elastic IP’ just means I want to be able to navigate to your page from my browser. I want your page to be on the world wide web, I want to see in my browser or phone the instance of your page that you are hosting on EC2. In short, the URL you submit might look at least something like this: http://52.xx.xx.xxx/Assignments/GoogleDriveGitZip.html.
Example Picture
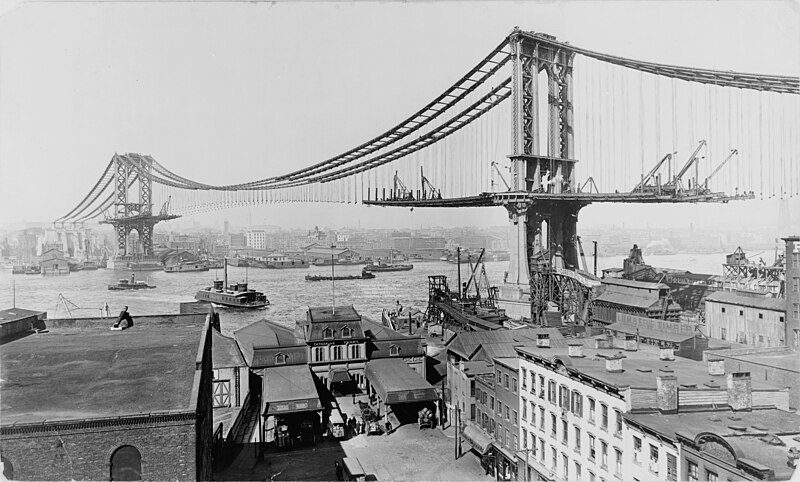
Here is a normal picture of a bridge with no CSS attached to it:

If you want to get more control over the picture, you can use CSS. For instance, you can use the picture, and the same file, but have the image appear to be smaller. This usually involves writing real HTML in your markdown, and including a class. Here is my simple CSS class:
img.twenty-five-percent {
   width: 25%;
}
This code says that if there is a class of an image tag named twenty-five-percent then set its width to 25% of the entire page. Put this CSS in a file called /var/www/html/css/style.css. If you have the most recent version of MakeHtml, then the code you put in this file should be reflected in your web pages.
And here is code for using the twenty-five-percent class:
<img class="twenty-five-percent" src="https://foo.com/my-picture.jpg" alt="bridge">
Note the word class and the specific use of our twenty-five-percent code from the CSS file.
Below is the output from code like that shown above. This is the same image, and the same file, as the big one shown above, but here we use CSS to make the image smaller:

The Nano Editor
Some helpful links:
A video: